Achieve Perfect Frozen Banana Ice Cream: The Ultimate Guide to Ripe Banana Success
Imagine a dessert that’s rich, creamy, naturally sweet, and incredibly satisfying, yet requires no dairy, no added sugar, and minimal effort. Sounds like a dream, right? Welcome to the wonderful world of frozen banana ice cream. Often affectionately called "nice cream," this innovative treat has revolutionized how we think about healthy desserts, proving that you don't need fancy equipment or a laundry list of ingredients to create something truly magical at home. All it takes is the humble banana and a blender or food processor to whip up a feel-good delight perfect for a hot summer day, a post-workout snack, or simply whenever a sweet craving strikes.
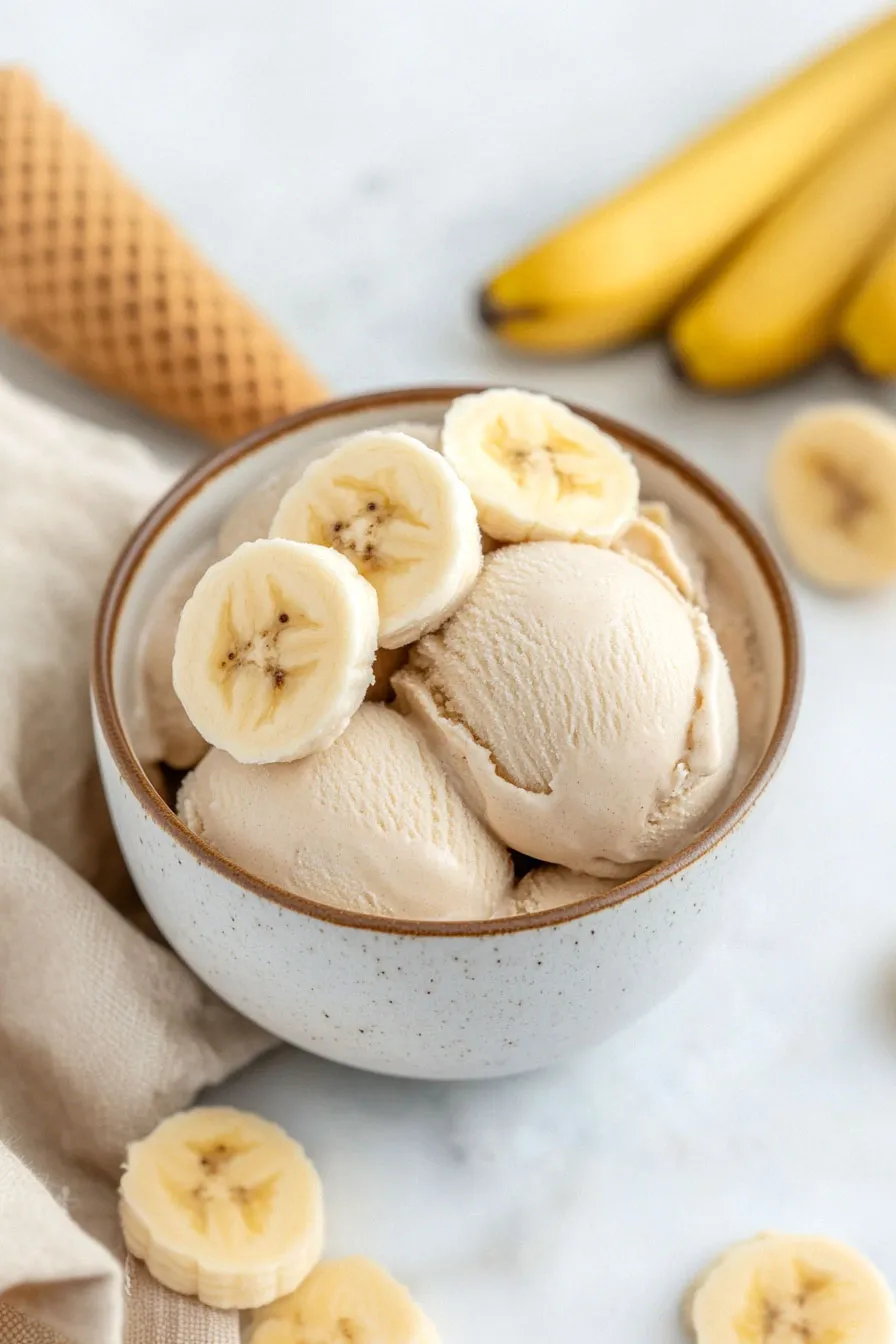
The beauty of frozen banana ice cream lies in its brilliant simplicity. It transforms frozen banana chunks into a luxuriously smooth, soft-serve consistency that rivals traditional ice cream. But while the concept is straightforward, achieving that perfect, velvety texture and irresistible sweetness hinges on one critical factor: the ripeness of your bananas. This isn't just a minor detail; it's the secret ingredient that unlocks the full potential of this game-changing dessert. In this comprehensive guide, we'll delve into everything you need to know to master the art of frozen banana ice cream, with a keen focus on selecting and preparing the ideal ripe bananas.
The Science of Sweetness and Creaminess: Why Ripe Bananas Reign Supreme
At its core, frozen banana ice cream works because of the unique composition of bananas. When these fruits freeze, their water content solidifies. Upon blending, these ice crystals are pulverized, and the natural pectin and starches in the banana are released, emulsifying to create a remarkably smooth, viscous texture. However, this process is significantly enhanced by proper ripening.
As bananas ripen, a fascinating enzymatic transformation occurs: the complex carbohydrates and starches within the fruit break down into simple sugars. This natural process is key for several reasons:
- Intensified Sweetness: Under-ripe bananas are notoriously starchy and lack sweetness. As they ripen, their sugar content skyrockets, providing all the natural sweetness needed for your ice cream, eliminating the need for any added sweeteners.
- Creamier Texture: The breakdown of starches also results in a softer, less fibrous banana flesh. This translates directly to a smoother, creamier end product when blended. Green or barely ripe bananas, on the other hand, can yield a gritty, starchy, or even icy texture that’s far from the desired soft-serve consistency.
- Enhanced Flavor Profile: Ripe bananas develop a deeper, more complex flavor with delightful caramel notes, which significantly elevates the taste of your frozen banana ice cream.
Understanding this scientific shift underscores why the choice of banana ripeness isn't just a suggestion—it's the absolute foundation for success.
The Golden Rule: Identifying and Preparing Perfectly Ripe Bananas
The single most crucial step in making exceptional frozen banana ice cream is using bananas that have reached their peak ripeness. This is where most aspiring nice cream makers go wrong.
What to Look For: Visual Cues of Optimal Ripeness
Forget those uniformly yellow bananas you typically buy at the grocery store. For frozen banana ice cream, you want bananas that are:
- Abundantly Spotted: The peel should be speckled with numerous brown or black spots. These aren't signs of spoilage; they're badges of honor indicating maximum sugar conversion. The more spots, the sweeter the banana.
- Soft to the Touch: When gently squeezed, the banana should yield slightly, indicating a tender, creamy interior.
- Fragrant: Ripe bananas have a distinctively sweet and pleasant aroma.
Avoid any bananas that are primarily green or bright yellow with no spots. These will not only lack sweetness but will also impart a starchy, unpleasant taste and a less-than-creamy texture to your frozen banana ice cream. While common Cavendish bananas (the typical variety found in most stores) work perfectly, experiment with other types like plantains or red bananas once you’ve mastered the basics for different flavor nuances.
Prepping for Perfection: Peel, Slice, and Freeze
Once your bananas have reached this ideal spotted stage, it's time to prepare them for freezing. This seemingly simple step is another area where a little foresight goes a long way:
- Peel Them: Absolutely crucial! Trying to peel a frozen banana is an exercise in frustration and a potential hazard. Always peel your bananas *before* freezing.
- Slice Them into Chunks: Cut each peeled banana into roughly 1-inch thick coins or chunks. This increases the surface area, allowing them to freeze faster and, more importantly, makes them much easier for your food processor or blender to handle. Trying to blend whole frozen bananas can strain or even damage your appliance.
- Freeze on a Tray: Arrange the banana chunks in a single layer on a parchment paper-lined baking sheet or plate. This prevents them from clumping together as they freeze, making them easier to portion later.
- Transfer to Storage: Once solid (usually after 2-3 hours), transfer the frozen chunks to a freezer-safe bag or container. Label with the date. A stash of these ready-to-blend chunks means delicious frozen banana ice cream is always just minutes away. They can be stored for up to 2 months.
Pro Tip: If your bananas aren't quite ripe enough and you're in a hurry, you can place them in a paper bag with an apple or another ripe banana. The ethylene gas released by the ripe fruit will help speed up the ripening process.
Mastering the Blend: Tips for Silky Smooth Frozen Banana Ice Cream
With your perfectly ripe, pre-frozen banana chunks ready, the blending process is the final frontier to achieving that ideal consistency. Here’s how to avoid common pitfalls and ensure a velvety smooth result every time:
- Choose Your Weapon Wisely: A powerful food processor is often preferred for frozen banana ice cream due to its wide base and S-blade, which can better handle dense, frozen solids. A high-speed blender can also work, but you might need to stop and scrape down the sides more frequently.
- The Art of the Thaw: Don't blend rock-hard frozen bananas directly from the freezer. Let your banana chunks sit at room temperature for 3-5 minutes. This brief thaw softens them just enough to blend into a creamy consistency without turning into a smoothie.
- Pulse, Don't Process Continuously: Start by pulsing the frozen banana chunks in short bursts. This helps break them down evenly and prevents your appliance from overheating. As they start to break up, you'll notice them going from crumbly to chunky, and then finally to a soft, swirling mass.
- Scrape Down the Sides Religiously: Use a spatula to scrape down the sides of your food processor or blender frequently. This ensures all the banana pieces are incorporated and helps achieve an even, smooth texture.
- Go Easy on the Liquid: This is another critical mistake to avoid. The goal is thick, creamy ice cream, not a smoothie. Start with *no* liquid. Only add a tiny splash (1-2 tablespoons) of almond milk, water, or other plant milk if your appliance is struggling to process the bananas. Add incrementally, just enough to get the blades moving again. Often, no liquid is needed at all, especially with a powerful food processor and perfectly thawed bananas.
Elevating Your Frozen Banana Ice Cream Experience
While plain frozen banana ice cream is a delicious treat in itself, its neutral base makes it incredibly versatile for flavor customization. Here are some ideas to take your nice cream to the next level:
Flavor Variations (Blend-Ins)
- Chocolate Bliss: Add 1-2 tablespoons of unsweetened cocoa powder or cacao powder with the bananas for a rich chocolate nice cream.
- Fruity Fusion: Blend in a handful of other frozen fruits like berries, mango, or pineapple for a vibrant, multi-fruit swirl.
- Nutty Indulgence: A tablespoon of your favorite nut butter (peanut butter, almond butter, cashew butter) blended in adds richness and protein.
- Spice it Up: A pinch of cinnamon, nutmeg, or a dash of vanilla extract can add depth and warmth.
- Green Goodness: For a nutrient boost and vibrant color, add a small handful of spinach (you won't taste it!) or a teaspoon of spirulina powder.
Toppings and Mix-Ins
Once scooped, the possibilities are endless for toppings:
- Sauces: A drizzle of warm peanut butter, melted dark chocolate, or a homemade caramel sauce.
- Crunch: Chopped nuts (pecans, walnuts, almonds), granola, shredded coconut, or cacao nibs.
- Freshness: Fresh berries, sliced kiwi, or a sprinkle of lime zest.
- Sweet Additions: Mini chocolate chips, a sprinkle of sea salt flakes, or a spoonful of fruit compote.
Serving and Storage
Your freshly made frozen banana ice cream is best enjoyed immediately for that perfect soft-serve consistency. However, if you have leftovers or want to make it ahead:
- Storage: Transfer it to a freezer-safe container, pressing it down to remove air bubbles. A shallow container makes scooping easier later. It will keep well in the freezer for up to 2 months.
- Re-serving: When you're ready to enjoy again, let it sit at room temperature for about 5-10 minutes to soften slightly. This makes it easier to scoop and restores that delightful texture.
This naturally sweet and dairy-free treat pairs wonderfully with a cup of hot coffee or tea for a cozy afternoon snack, or as a light, healthy dessert after any meal.
Conclusion: Embrace the Simplicity, Savor the Sweetness
Achieving perfect frozen banana ice cream is not just about blending; it's about understanding and respecting the humble banana. By prioritizing ripeness, carefully preparing your fruit, and employing smart blending techniques, you unlock a world of creamy, guilt-free indulgence. This simple, versatile dessert is a testament to how whole, natural ingredients can be transformed into something truly extraordinary. So, the next time your bananas get those coveted brown spots, don't discard them—transform them into a delicious, healthy, and incredibly satisfying treat. Your taste buds (and your body) will thank you!
